When professionals need to sculpt wood or metal, a rotary burr can be very useful. These versatile instruments allow you to shape and engrave materials with unparalleled ease. However, like all tools, users must maintain and store them properly to ensure quality performance and a long lifespan. Learn how to do that in this quick guide to cleaning and storing rotary burrs.
Why You Should Clean Your Rotary Burrs
If you’re new to using rotary burrs, you may wonder, “Why is it so important to clean them?” As you use them over time, dust, metal shavings, sap, and other residues can accumulate on the burrs, impairing their cutting efficiency and potentially damaging the tool.
By cleaning your rotary burrs regularly, you ensure that they remain sharp and effective, allowing for precise cuts and finishes. Additionally, clean burrs reduce the risk of contaminating your workpieces with unwanted debris, preserving the quality of your projects. Taking the time to clean your rotary burrs also minimizes wear and tear, protecting your investment in these essential tools.
Tips for Cleaning Rotary Burrs
Maintaining your rotary burrs through regular cleaning doesn’t require excessive effort but does demand consistency. Here’s a look at how you can make sure your burrs stay in pristine condition.
Put on Protective Gear
Before you start cleaning your rotary burrs, remember to prioritize your own safety by wearing appropriate protective gear. Ensuring your safety allows you to focus on the task at hand and prevents any accidents that could hinder your projects.
Safety glasses will shield your eyes from any flying debris that may become dislodged during cleaning. Don’t forget to put on gloves so you will avoid the dangers of sharp edges and potential chemical exposure if you use cleaning agents. This will even prevent you from getting any pesky fingerprints on your burrs that you will have to remove later.
Use a Brush To Remove Any Debris
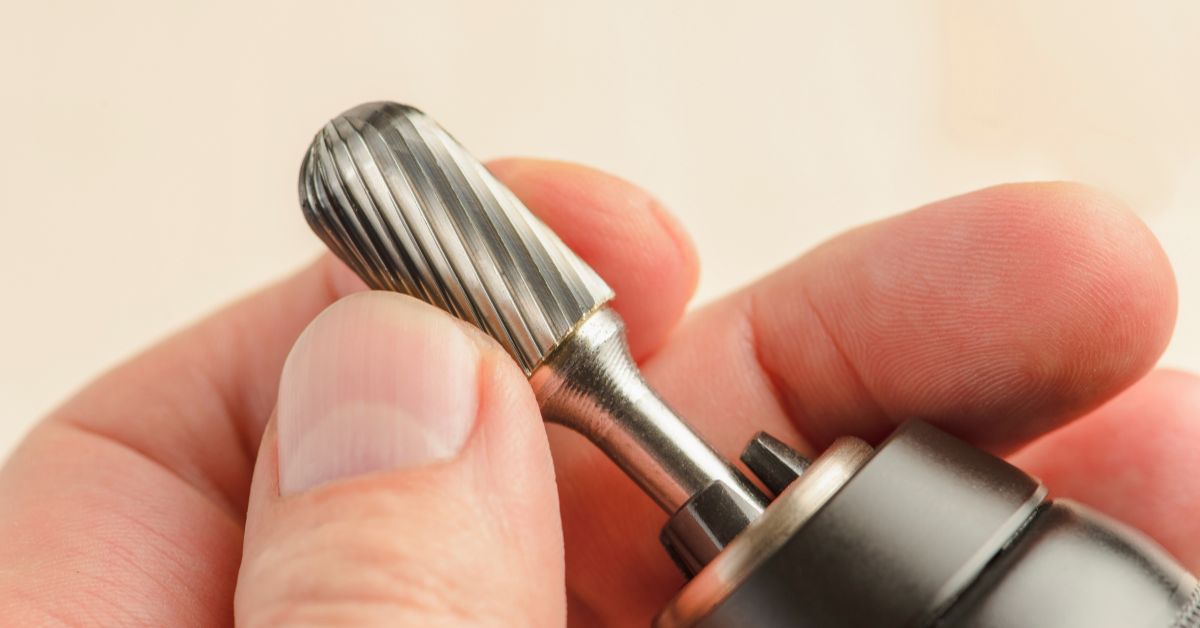
After protecting yourself, take time to remove any debris from your burrs. Use a brush so you can gently scrub them and dislodge any particles or residue stuck in the grooves without causing any damage.
Hold the burr firmly while brushing to prevent it from spinning and causing injury. For stubborn debris, a soft toothbrush can provide extra leverage.
Take your time to brush each burr carefully while paying close attention to intricate designs that may harbor hidden particles. In addition, you can even supplement your brushing by using cold water or compressed air to remove debris.
Soak Your Burrs in Chemicals
After removing as much of the debris as you can, you should soak your rotary burrs in a cleaning solution. Make sure you do it for about 10 minutes so they get a thorough soak in the solution.
During this time, you can also use a wire brush to see if there is any remaining residue you need to remove. However, be careful when you brush to avoid doing any damage to your burrs. You should also avoid splashing any cleaner on counter areas as you brush them.
Use Ultrasonic Sound Waves
If you want to avoid the hassles of brushing your burrs while submerging them in a cleaning solution, try employing ultrasonic sound waves to take your maintenance routine to the next level. This method utilizes high-frequency sound waves to agitate a cleaning solution, creating microscopic bubbles that effectively remove stubborn debris from every nook and cranny of your rotary burrs.
By immersing your burrs in an ultrasonic cleaner, you harness the power of technology to clean your tool’s surface. It’s a game-changer for professionals who want to maintain peak performance and prolong their tools’ lifespan with minimal effort.
Avoid Caustic Chemicals
It is important to note that you should avoid acidic chemicals when washing your rotary burrs. While you may feel the temptation to use strong chemicals for cleaning, caustic substances can damage them. For example, chemicals that feature chloride can corrode the metal, leading to weakened structures and reduced performance.
Instead, opt for mild cleaning solutions or specialized burr cleaning sprays. Manufacturers design these products to break down residue without harming the burrs.
Hold Them Under Running Water
After you have used your cleaning solution on your burrs, rinse them under warm running water to wash the solvent away, along with any remaining particles. The flow of water helps flush out debris from the grooves, ensuring a thorough cleaning. Make sure to rotate the burrs under the water to cover all areas evenly.
Dry Your Burrs Off
It is essential to dry your rotary burrs off during the cleaning process, as moisture left behind can lead to them developing rust and corrosion. Use a clean, lint-free cloth to pat the burrs dry, removing excess water.
If you want to have peace of mind that you have removed all moisture from your rotary burrs, a few blasts of compressed air will do the trick.
Double Check for Any Wear
After drying off your rotary burrs, take the time to see if they show any signs of damage. Performing a thorough inspection will allow you to address any damage sooner than later.
Tips for Storing Your Rotary Burrs
Now that we’ve detailed the process of cleaning rotary burrs, we can discuss how to store them. This process is also important since it keeps them safe and in excellent condition.
Store in a Case
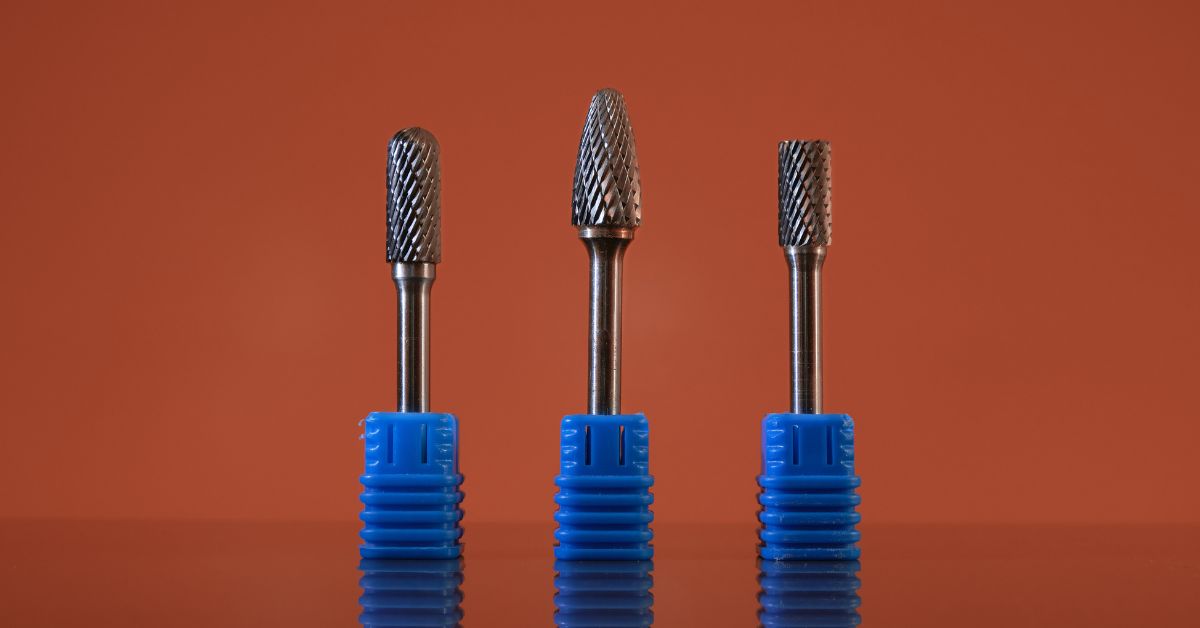
To prevent your rotary burrs from knocking against each other and potentially dulling or chipping during storage, make sure you put them in a place where they won’t be able to touch each other. A dedicated burr holder or a small, compartmentalized case works well to keep each burr secure.
If you don’t have a specialized case, consider wrapping each burr in a soft cloth or placing them in separate compartments of a toolbox. Keeping them isolated protects their cutting edges and prolongs their lifespan.
Ensure the Case Is Dry
As we’ve established, it is important to ensure your rotary burrs are dry after cleaning them. Confirming their storage case is completely dry is also essential.
Moisture in the case can also lead to rust and corrosion, rendering your burrs unusable. If needed, use a dehumidifier or silica gel packets to absorb moisture inside the case.
Organize Them
Implement a system of burr organization. After all, you don’t want to open your case later and have difficulty finding the ones you want.
Arrange your burrs in a logical order based on their size, shape, or intended use. This will allow you to find the burr you need for a particular task quickly and avoid work slowdowns.
Consider labeling the slots or compartments to streamline your selection process further. An organized storage system helps eliminate headaches and gets you back on task.
Improve Your Woodworking or Metalworking With Our Products
With these strategies for cleaning and storage, you can better maintain the performance and longevity of your burrs. You can purchase high-quality rotary burrs for metal– or woodworking from Drill Bit Warehouse. We offer the best burrs available for shaping materials and use them ourselves for our own projects.


