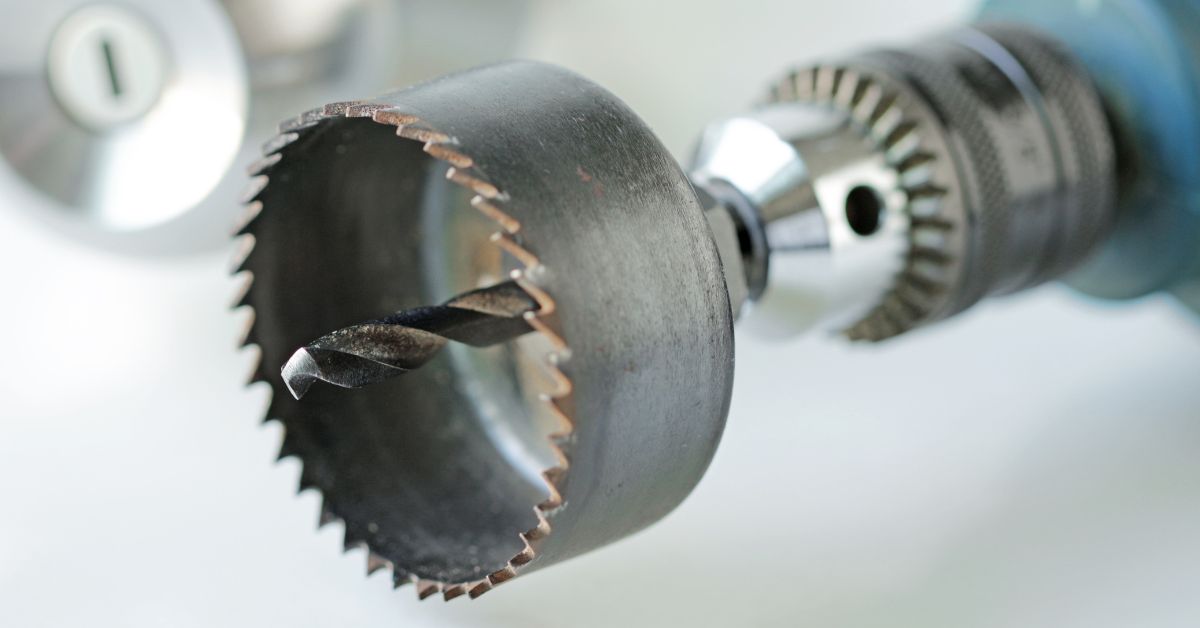
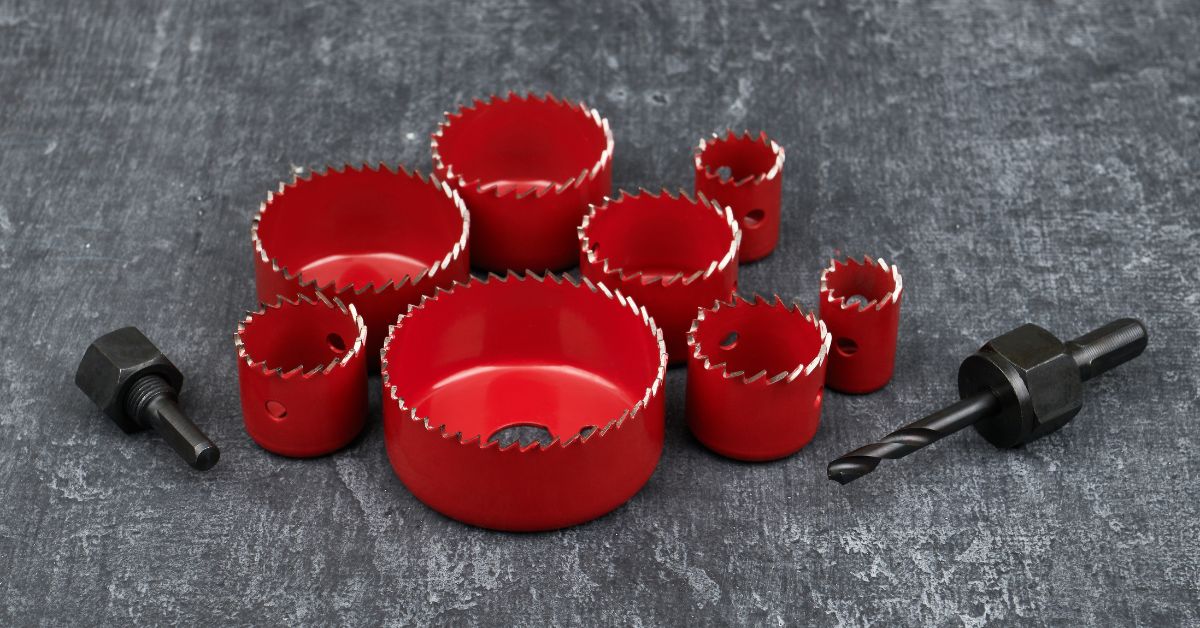
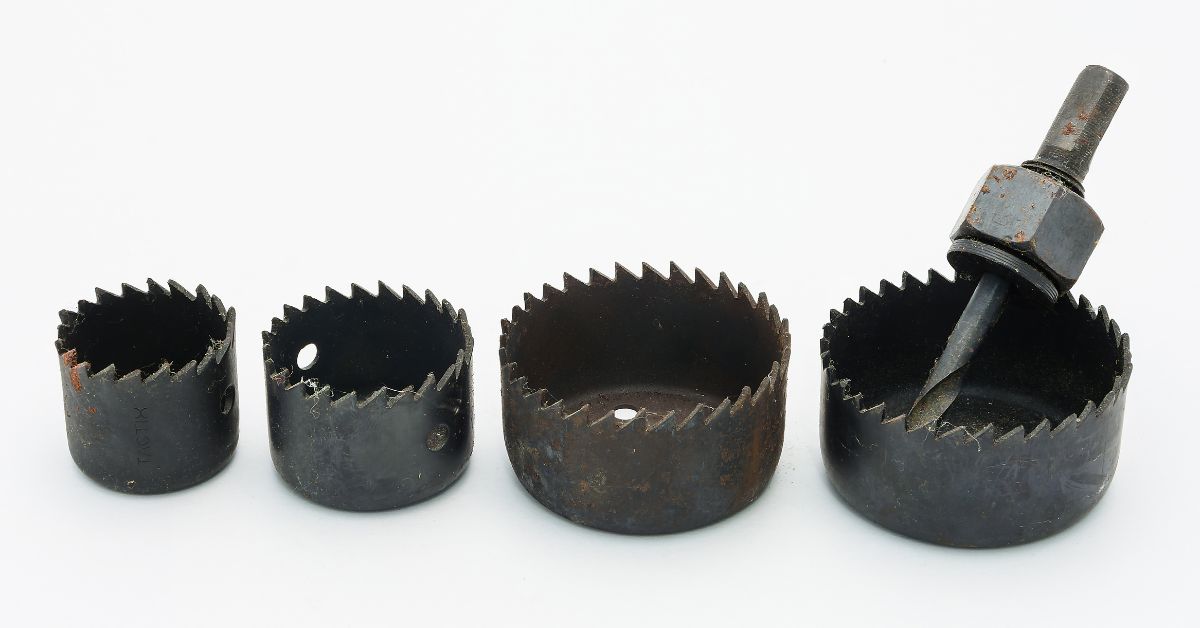
When a contractor, woodworker, or metalworker uses a hole saw drill bit on a project, they must do so with careful craftsmanship and precision. Otherwise, they may produce results that make their clients unhappy. Whether you’re using your hole saw to craft unique designs or install essential components, knowing how to utilize this tool properly will enhance the level of quality that you deliver your customer. Discover how to do ensure success in this guide to using hole saw drill bits effectively.
Maintain Your Hole Saw Bits
To ensure your hole saw drill bit performs effectively, you must maintain it properly. Regular attention will keep your bits sharp and ready for action. You can start by properly cleaning your bits after each use.
Debris and residue from drilling can dull the teeth, reducing their efficiency. Use a cloth to remove these particles, ensuring that no remnants remain lodged in the teeth.
Sharpening the teeth periodically can also help you preserve the bit’s cutting power. Try using a grinding wheel to sharpen the teeth, but don’t do it so long that you damage them. Pay attention to maintaining the original shape and angle, as deviations could affect performance. Oiling the bit after sharpening also prevents rust, extending the bit’s lifespan.
Ensure the Saw Will Cut the Material
When you have a project where you need to use a hole saw drill bit, it is essential to confirm that the material is compatible with the bit. Not every bit suits every material, and choosing the wrong combination can lead to poor results or even damage. Begin by identifying the material you plan to work with and select a saw designed to handle it.
For example, bi-metal saws that feature two types of steel can be especially useful for drilling through wood or aluminum. In addition, carbide-tipped bits also excel at handling materials such as wood, stainless steel, and plastic.
Checking the specifications of your hole saw against the material in question ensures optimal performance. If you are uncertain about compatibility, consult the manufacturer’s guidelines or seek advice from experienced professionals for clarity. You can also try making a test cut on a scrap piece to confirm that the bit suits the material’s requirements.
Secure the Item You Will Cut
Another tip for using a hole saw drill bits effectively is to secure the item that you plan to cut before drilling. Ensuring stability during drilling guarantees precision and will prevent accidents. In this case, clamps can provide an excellent solution, as they hold the material steady while you work.
However, you must position the clamps so that they do not obstruct the path of your drill. Using multiple clamps may also be necessary for larger items to achieve complete stability. On smaller pieces, a vice can prove useful, offering an extra level of security.
Draw the Center of the Hole on the Item
To achieve precision on your project, clearly mark the center of the hole you plan to cut with the hole saw. This guides the bit and ensures the final cut aligns with your requirements. A pencil or marker works well for wood and plastic, while a scribe works on metal surfaces.
Measuring tools like a ruler or caliper can assist you in locating the exact center. Once marked, double-check the alignment before proceeding.
Errors at this stage translate into misaligned cuts, so take the time to verify accuracy. With a clear center point, the drill’s pilot bit can engage the material precisely, leading the hole saw to cut accurately.
Ensure You Are Dressed Safely
One last measure you should take before drilling is to make sure you are dressed appropriately for this task. Wearing suitable clothing safeguards against accidents and enhances your ability to focus on your work. For example, you should put on safety goggles and earmuffs to keep your eyes and ears safe.
You should also wear gloves to protect your hands and non-slip footwear to prevent yourself from falling during this task. Avoid clothes and jewelry that could become caught in the drill, and ensure your hair stays out of reach as well. By embracing these precautions, you will avoid potential dangers so that you can achieve successful outcomes.
Begin by Applying the Drill Gently
It is important to be careful when applying force with your drill. Begin working gently to ensure the bit does not bind or skip.
This approach limits heat build-up, which could compromise both the bit and the material. You can gradually increase speed as the bit establishes a path, allowing the teeth to efficiently remove material.
Maintaining a straight angle is equally important. Tilting can cause the bit to wander, resulting in a crooked or oversized hole. Keeping the drill perpendicular to the work surface avoids these issues and ensures a clean, accurate cut.
Drill From Both Sides if Possible
Although you may think you should drill a complete hole from one side, try doing it from both. Approaching from both sides reduces splintering, ensures a clean cut, and prevents you from having a piece of debris in the saw afterward.
Start by drilling halfway through the material from one side. Stop when the pilot bit emerges on the opposite side. Flip the material over and continue drilling from where the pilot bit appears.
This technique perfectly aligns both cuts, meeting in the center and minimizing breakout. This double-sided tactic proves especially useful with thicker materials, where a single approach might leave rough edges. Practicing this method can improve the quality of your work, producing smooth, professional results.
Pause During Drilling To Prevent Overheating
Heat presents a common challenge during drilling, affecting both the bit and the material. Pausing periodically during operation allows for cooling, preserving the bit’s sharpness and preventing damage to the material.
Taking breaks also offers the opportunity to clear debris from the cutting path. Removing these obstructions ensures the teeth effectively engage the material, maintaining smooth operation and extending the tool’s life.
Take the Plug Out of Your Saw
If you cannot drill the material from both sides, you will likely have a round plug within your hole saw drill bit when finished. If your bit has an ejector spring, you can easily pop out the plug.
If your bit does not have an ejector spring, wait until your tool is no longer warm, and then remove the plug with the help of a screwdriver. Allowing time for the saw and material to cool down will prevent the heat from hurting your hand, allowing you to complete the task safely.
Purchase Hole Saw Bits at Drill Bit Warehouse
Keeping these steps in mind will allow you to craft precise, satisfactory work for your customers. You can also ensure you provide quality craftsmanship by purchasing hole saw bits at Drill Bit Warehouse. We only use high-quality drill bits for our projects and have the honor of providing them to our customers as well.


